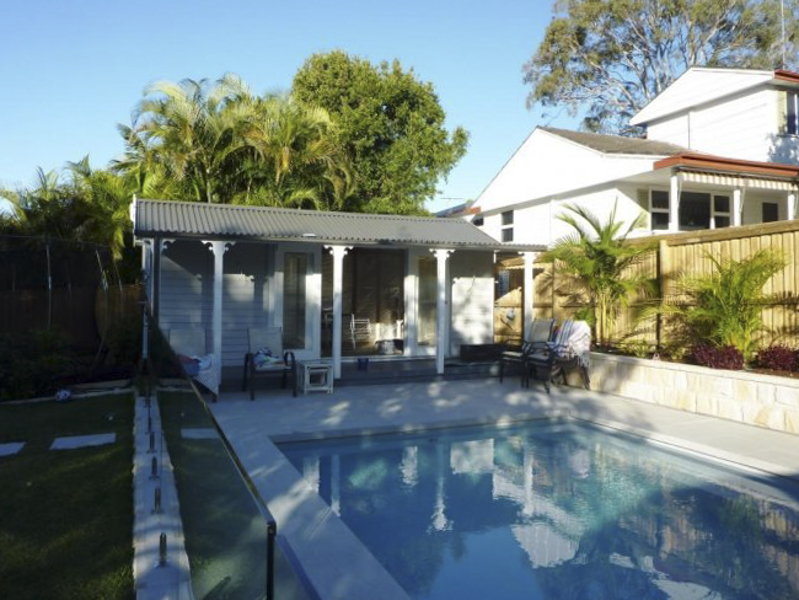
If there’s one backyard upgrade Aussies love, it’s a swimming pool!
A lot of pool owners face a common problem though: no poolside shade to relax in and dry off after a swim.
The solution? Pool Cabanas.
These popular structures are easy to install, and the best way to make sure you get the most value out of your pool area.
A pool cabana creates the perfect spot to spend time with the kids or host a party for friends.
Here are a few tips to help you Plan Your Pool Cabana:
1. Positioning your Cabana Outdoors
Where you position your pool cabana will have a great effect on how much it actually gets used.
You want to make sure it’s easy to access; not too far from the house, but still close to the pool.
We’re often asked if a pool cabana should be inside or outside the pool fencing. We recommend you clarify with your local council, as this can vary from council to council.
As with most exempt developments, you’ll need to make sure your cabana is at least 90cm from the fence.
This space between your fence and cabana will come in handy in future when it comes to maintenance.
2. Design your pool cabana layout
Melwood Pool Cabanas are made to order, so the doors and windows can be positioned to suit your property.
Door & Window Positioning
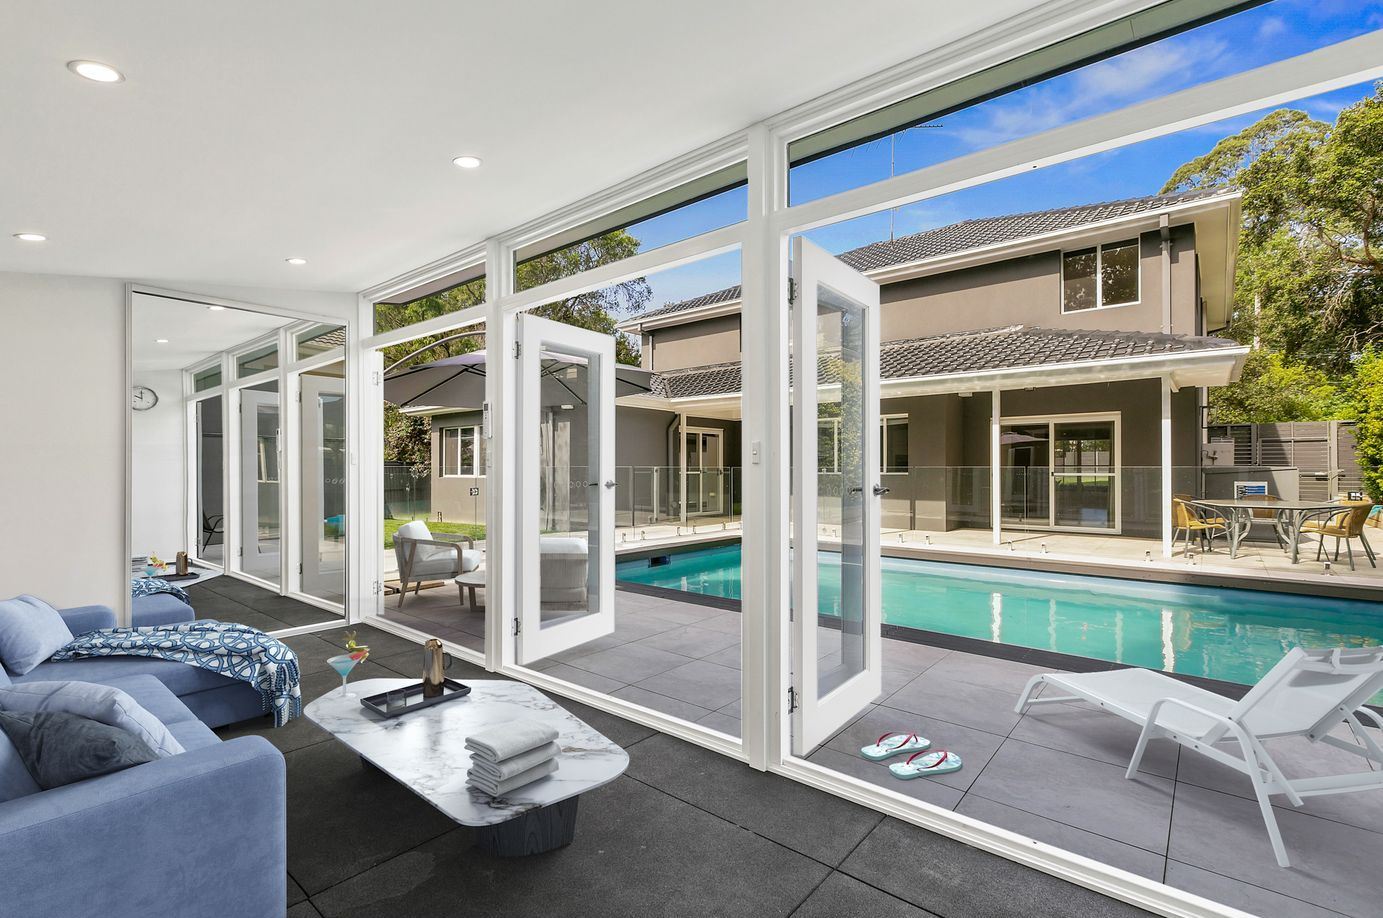
A lot of our customers choose the Mod Design for their Pool Cabana. The signature highlight windows in this design let in a lot of natural light. Combine this with glass doors and windows across the front of the cabana to create a light-filled space with beautiful pool views.
Plan for Storage Space
3. Paint the Outside + Connect services
Once your Pool Cabana has been delivered and installed by Melwood’s specialised install partners, it’s time to further customise it with your fit-out and finishes.
Once the cabana has been painted, the next step is to arrange any services you’ll need inside the cabana – such as:
- electrical for lights, powerpoints, fans or airconditioning
- plumbing for any plumbed-in areas such as stormwater, sink or outdoor shower
- cabling for IT such as a TV or computer (great if you’re likely to be working while supervising the kids by the pool)
Your Melwood comes to ‘lock up stage’ so that arranging services is easy for you & your trades.
4. Insulation & internal wall lining
Once the services are connected, you’re ready to get your wall lining in. This is the step that makes the inside of your Melwood feel like home!
This is a great point to add extra insulation (not essential – just an option).
Every Melwood Cabana comes with R1.3 insulation in the roof, and R1.1 sisulation in the walls. There is space to add extra insulation in the wall cavity if required.
This will make your cabana quieter and even more comfortable inside year-round, saving on both heating and cooling costs.
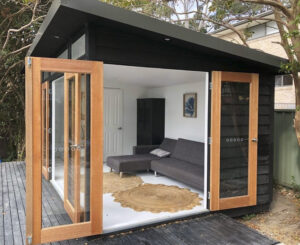
Once the insulation is in, its time to choose & install your wall linings.
There are a few options when it comes to wall linings – we’ve listed the most popular ones out below for you.
Plaster / Gyprock
Easycraft (or similar) Wall Panels
Another option for lining your walls is to use a pre-primed wall lining system like Easycraft.
These smooth boards come in a range of stylish finishes, and some are even pre-primed and ready to paint. The boards are available at your local hardware store, and installation is very easy to DIY.
Plywood Wall Lining
Another great DIY wall lining option that we have seen alot of Melwood owners use is Plywood sheets. They are very easy to install, and create a nice smooth finish that can be either stained or painted. Another bonus: if you change your mind a few years later, it’s easy to remove and replace with a new type of wall lining.
5. Furnishing & Decorating Your Pool Cabana
The last (and most exciting!) step is to furnish and decorate your Cabana. Think about how you’ll be using the space, and how many seats you need to provide.
By adding some comfortable seating (inside or outside, and perhaps a dining table, you’ll be able to create the ultimate alfresco entertaining area. Perfect for a poolside bbq!
Get all your Pool Cabana Questions Answered
If you’d love to see our Pool Cabanas or more designs in person, we have 3 locations in Sydney which you can visit. Click here to schedule your appointment.
